Outlining embroidery
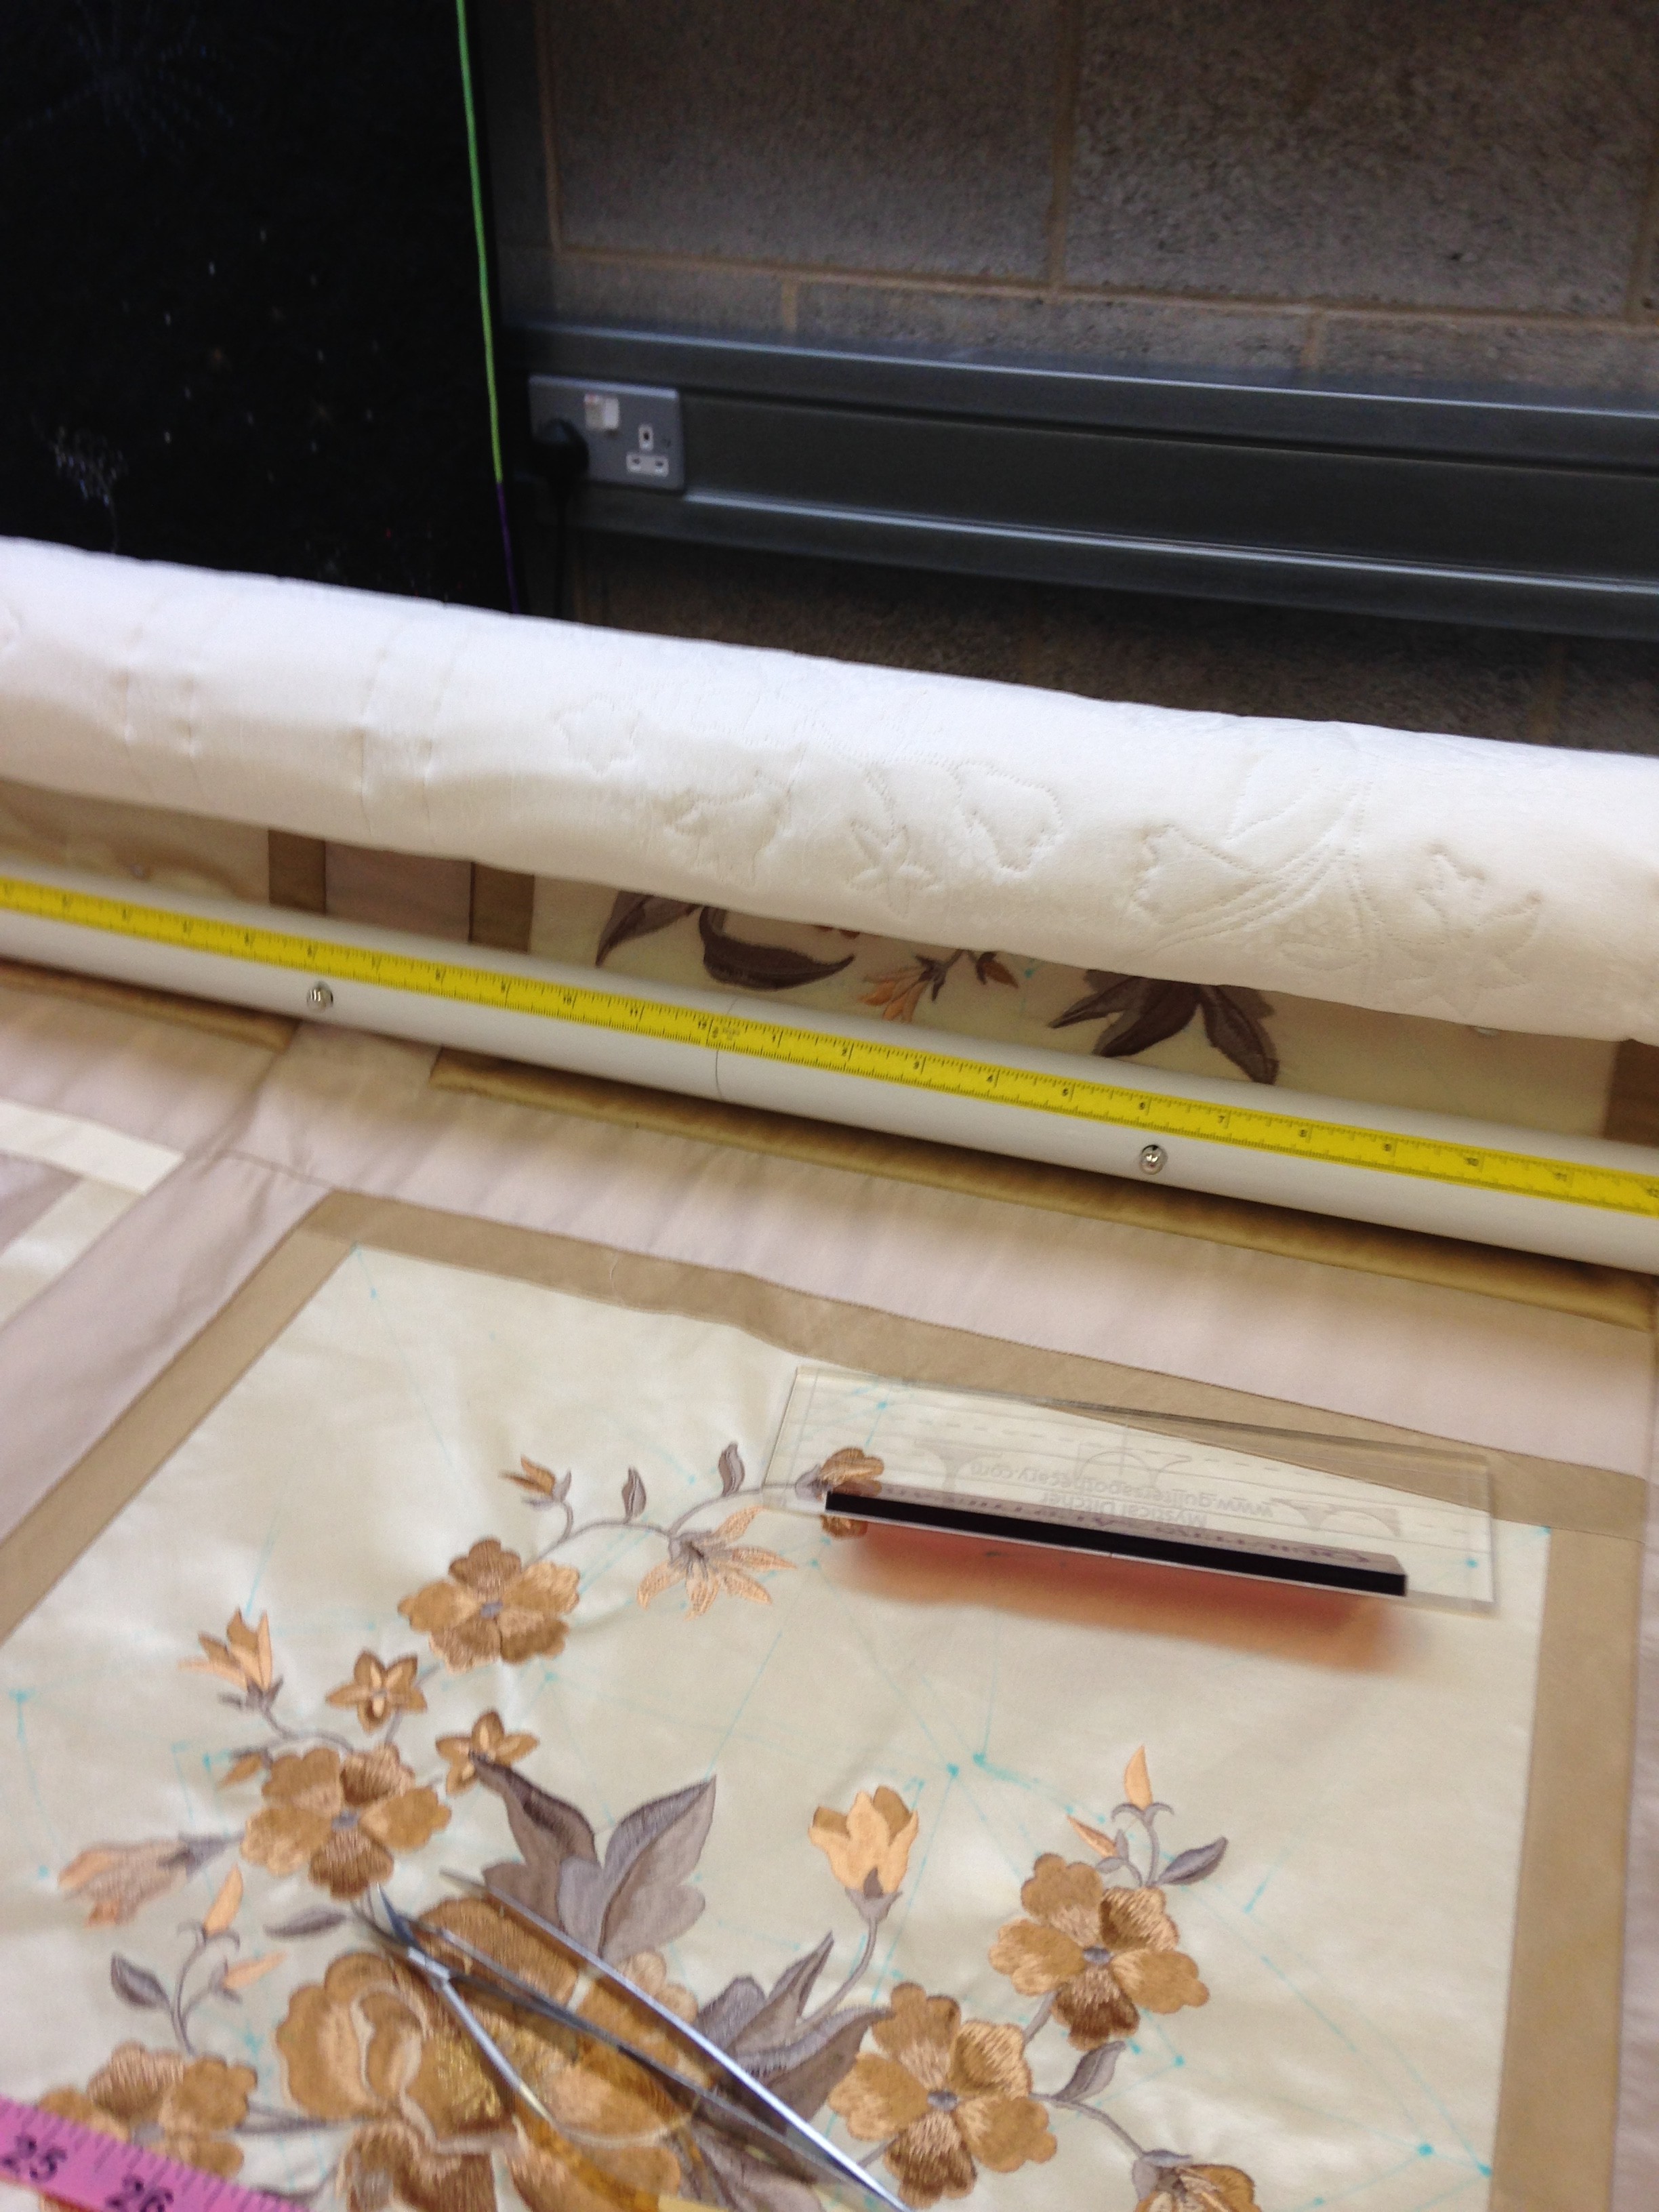
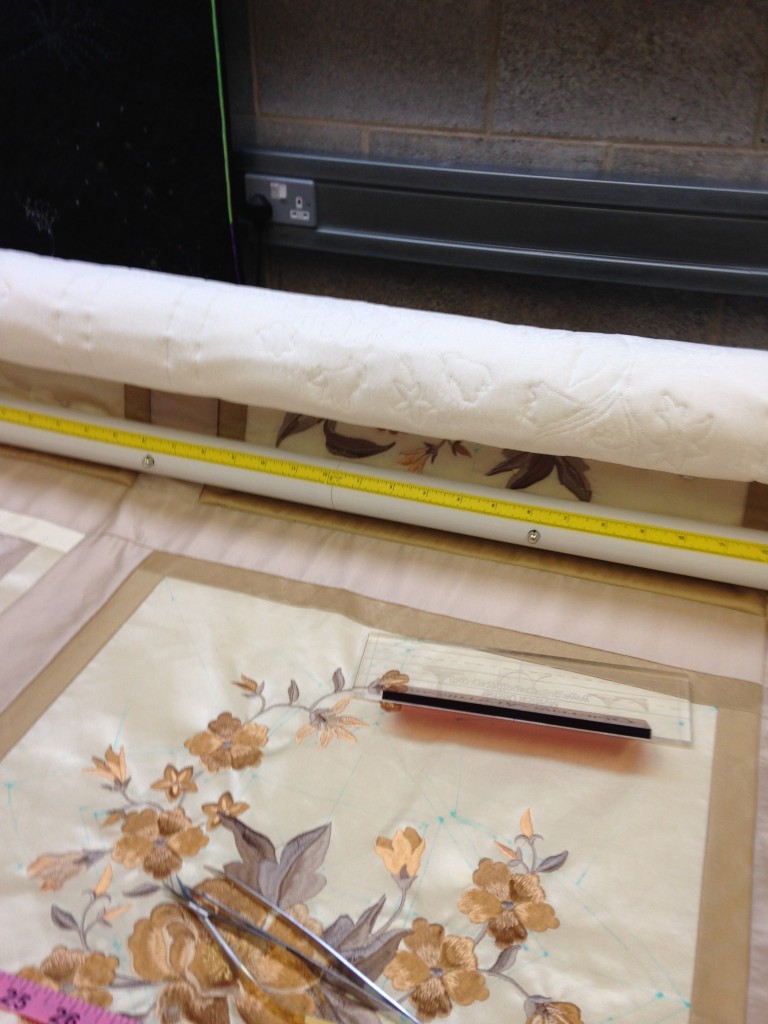
In the last post I described the route to designing the quilting to be stitched on the quilt. So, the quilt top has been on the light box for what seems like days and the back is aching nicely. The quilt is loaded on the frame and the embroidery is outline stitched and all the blocks are ditched. So, onto the fillings, this is when the really hard work begins. In the picture here you can just see all the blue lines that have yet to be stitched and in this particular picture you can that that the blocks above it have had the embroideries outlined and now it is the turn of this block.
Once this step is done the blue lines are all stitched and the areas created within each are all filled with different motifs.
Stitching the designs
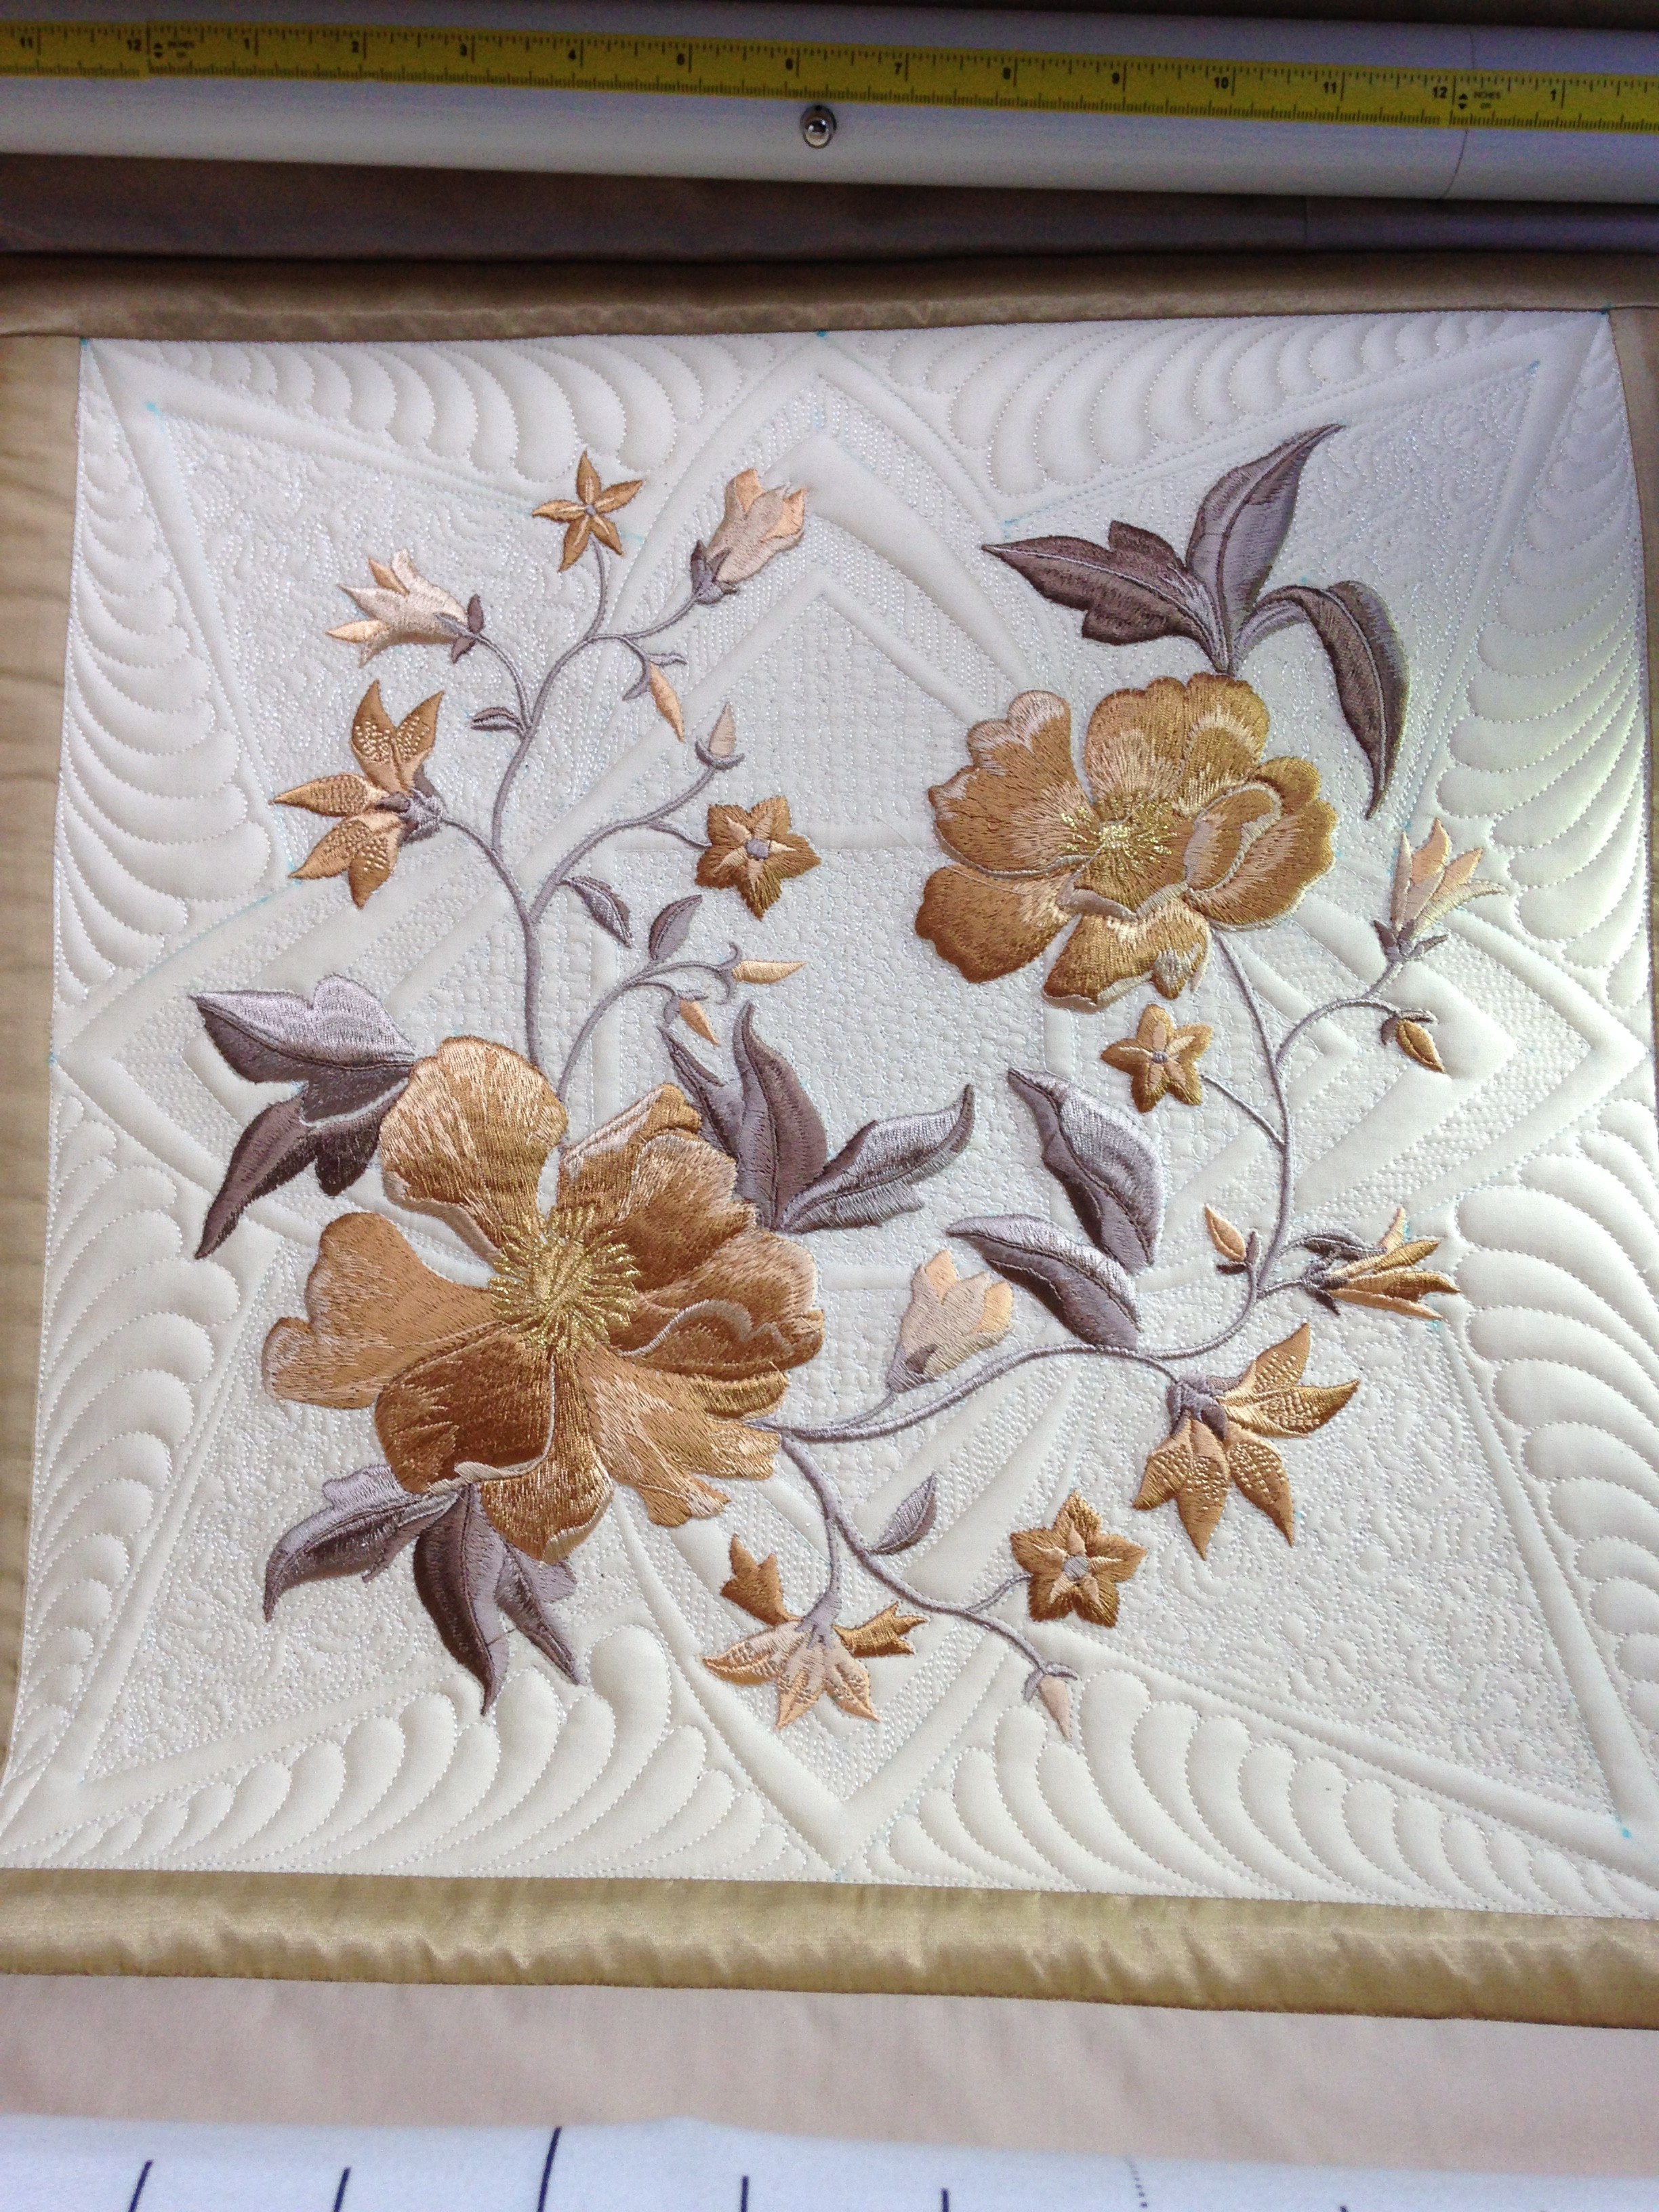
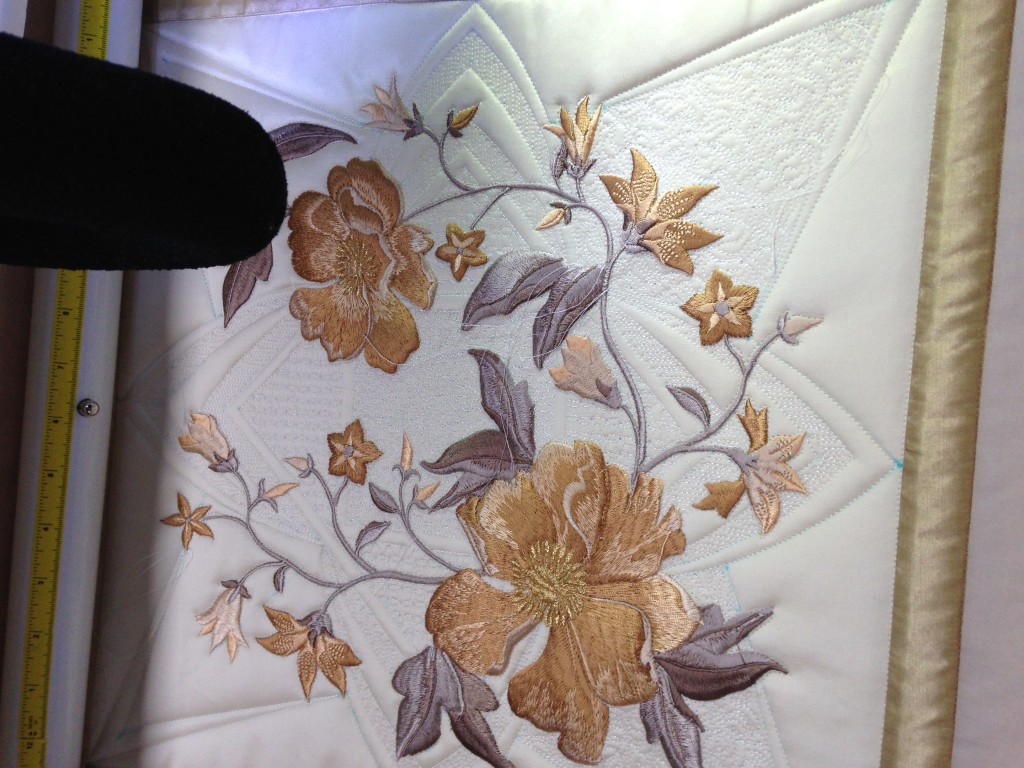
Here you can see a variety of different fillings being used. The centre is filled with tiny pebbles, and other fills are continuous curves and fine straight lines and my version of McTavishing. This one has yet to have the feathers added to it. You can also just see a number of what appears to be stray threads. These are threads that yet have to be knotted and buried.

Feathers included
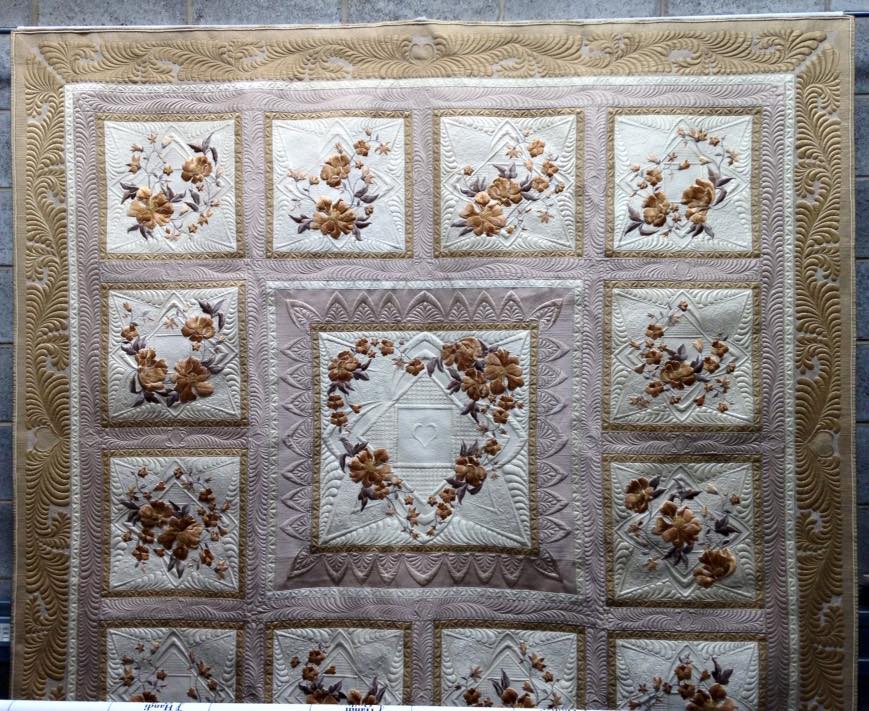
Here is the same block with all the fillings and the feather added. You can see the details of the fillings a little better on this picture. Just one of 12 blocks this size, and of course the centre which is 4 times this size to do then. To give you an idea of how long each one of these blocks took to fill in (that is after the embroideries have been outlined) after the first two days I managed to get 1 1/4 done on each 10 hour day. The centre one took about 4 x 10 hr days to complete.

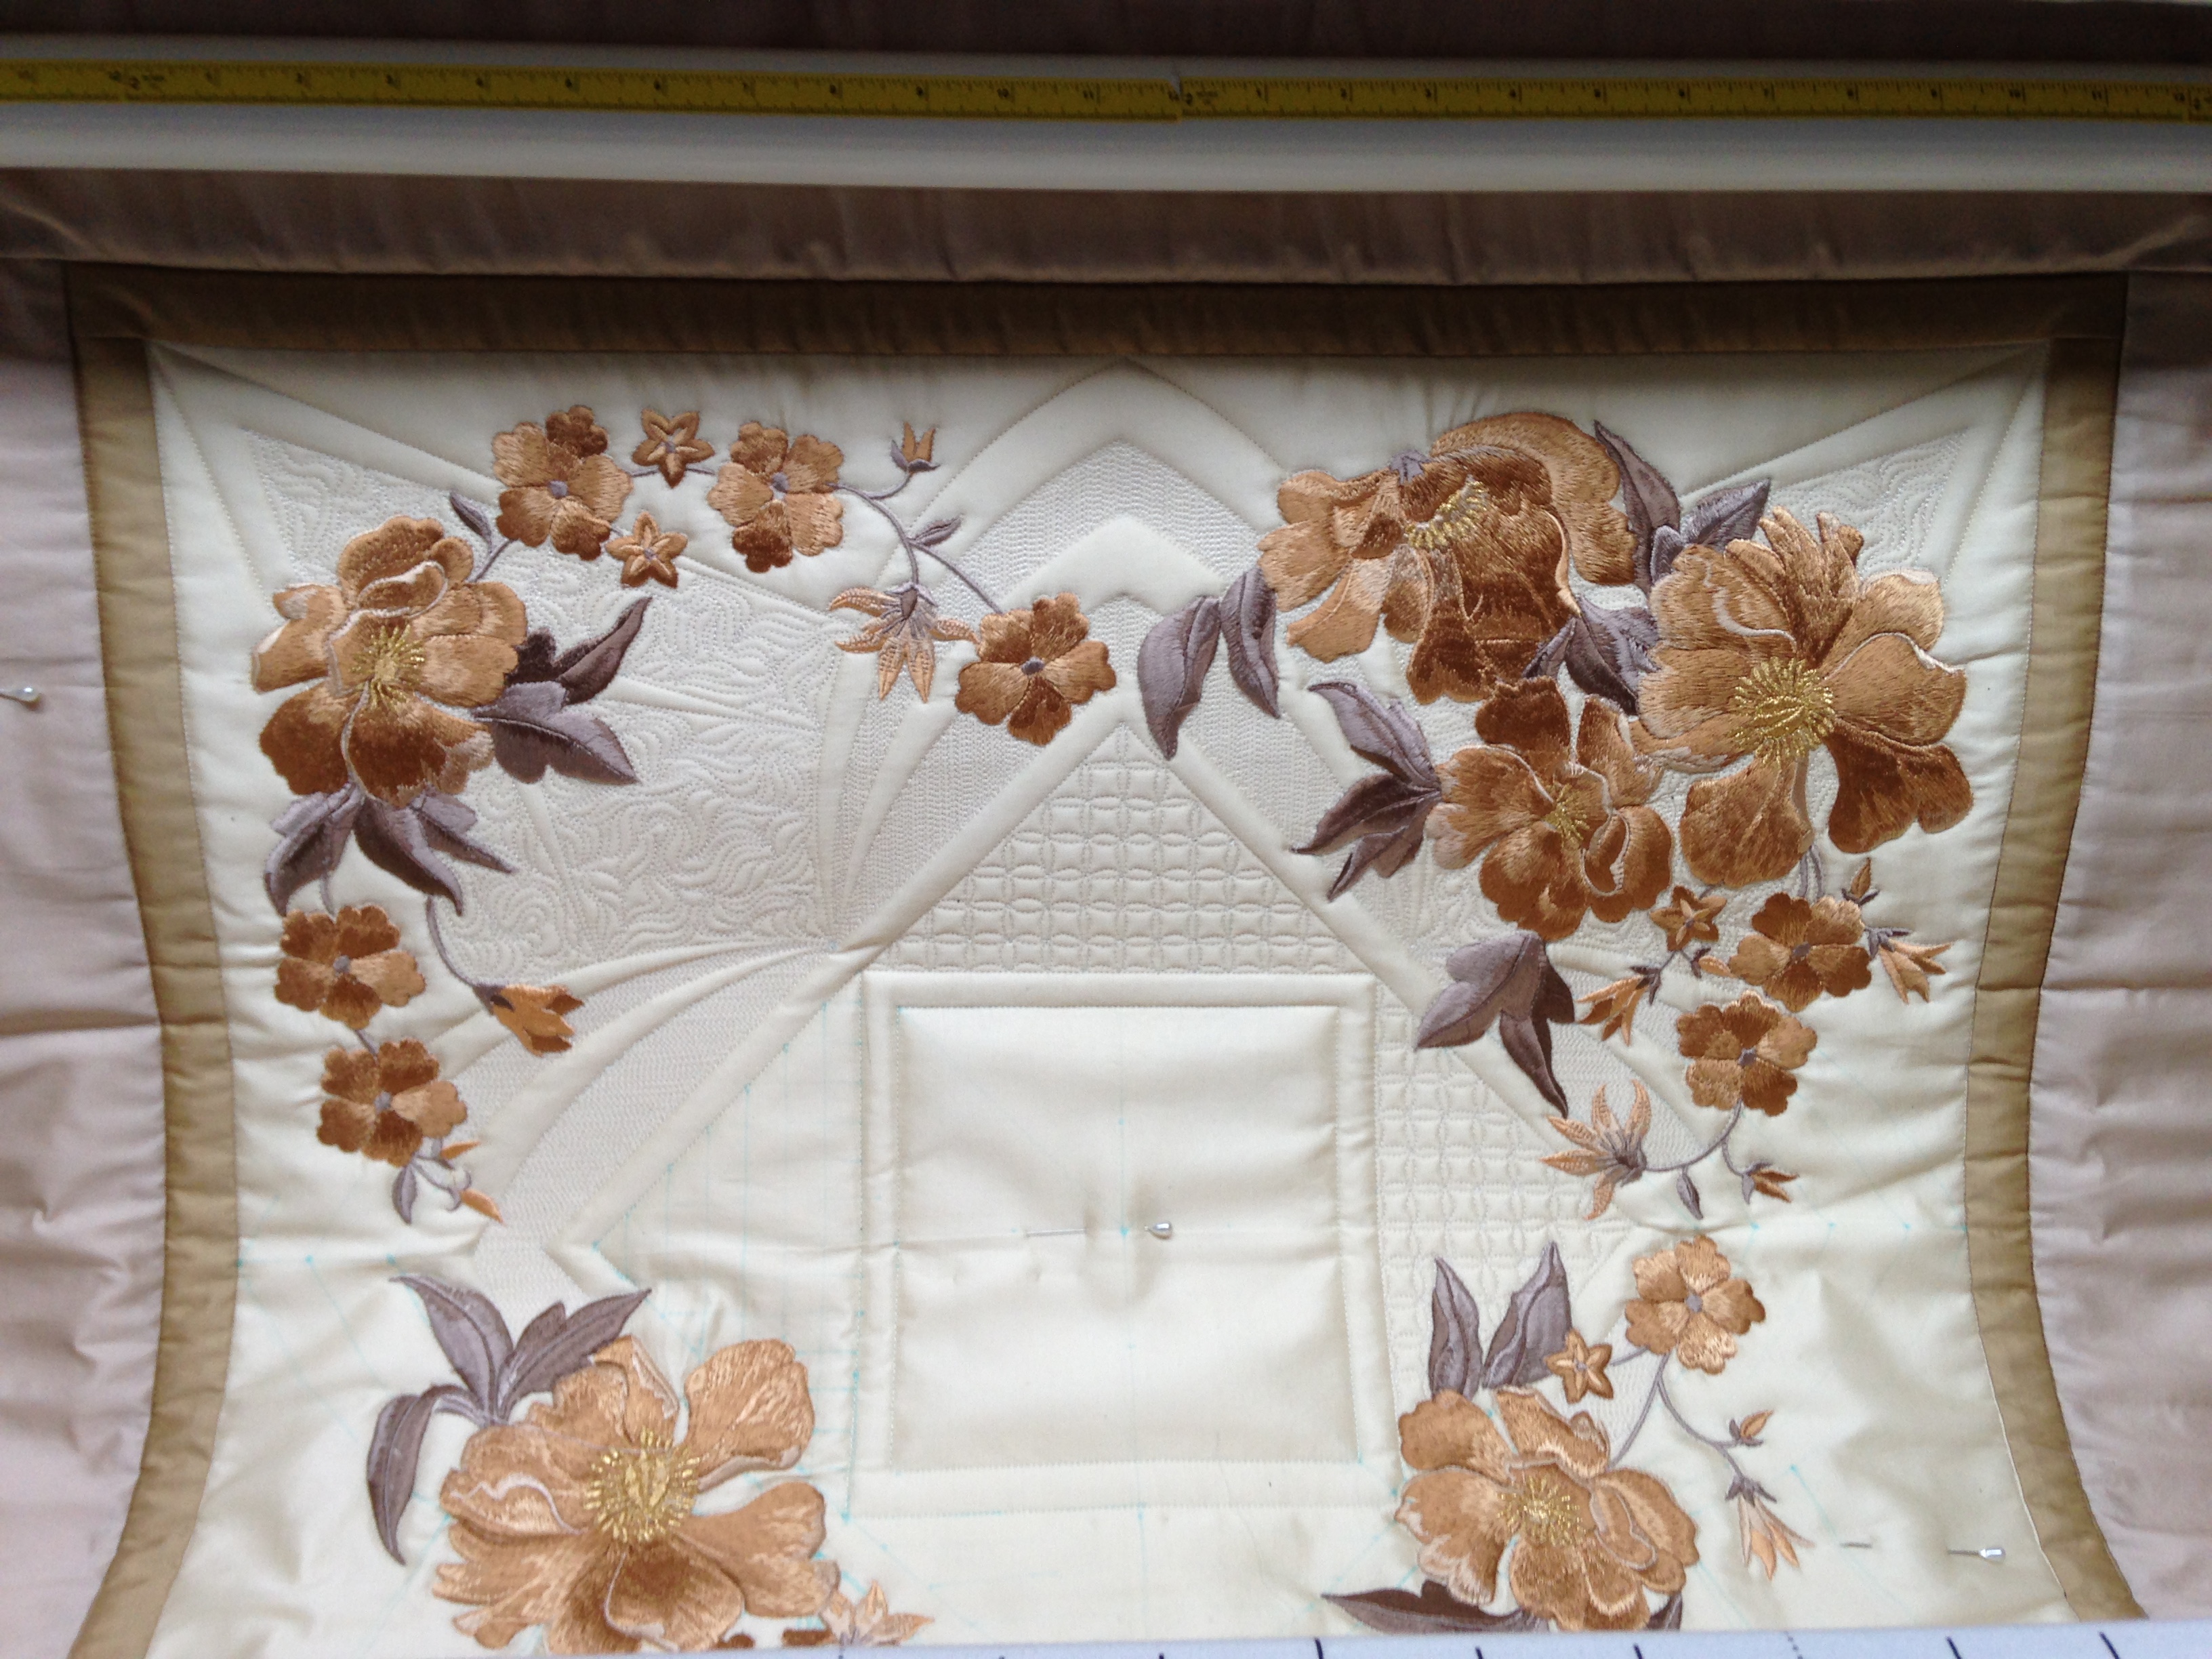
Cappuccino Centre Under construction

Sashing and inner border
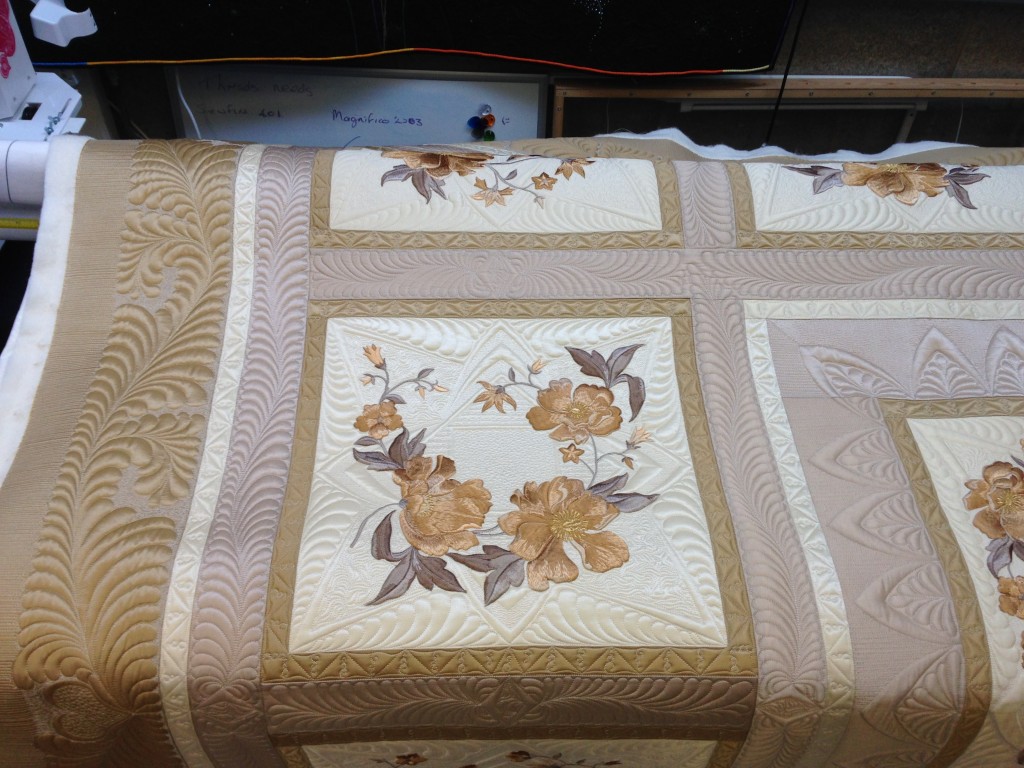
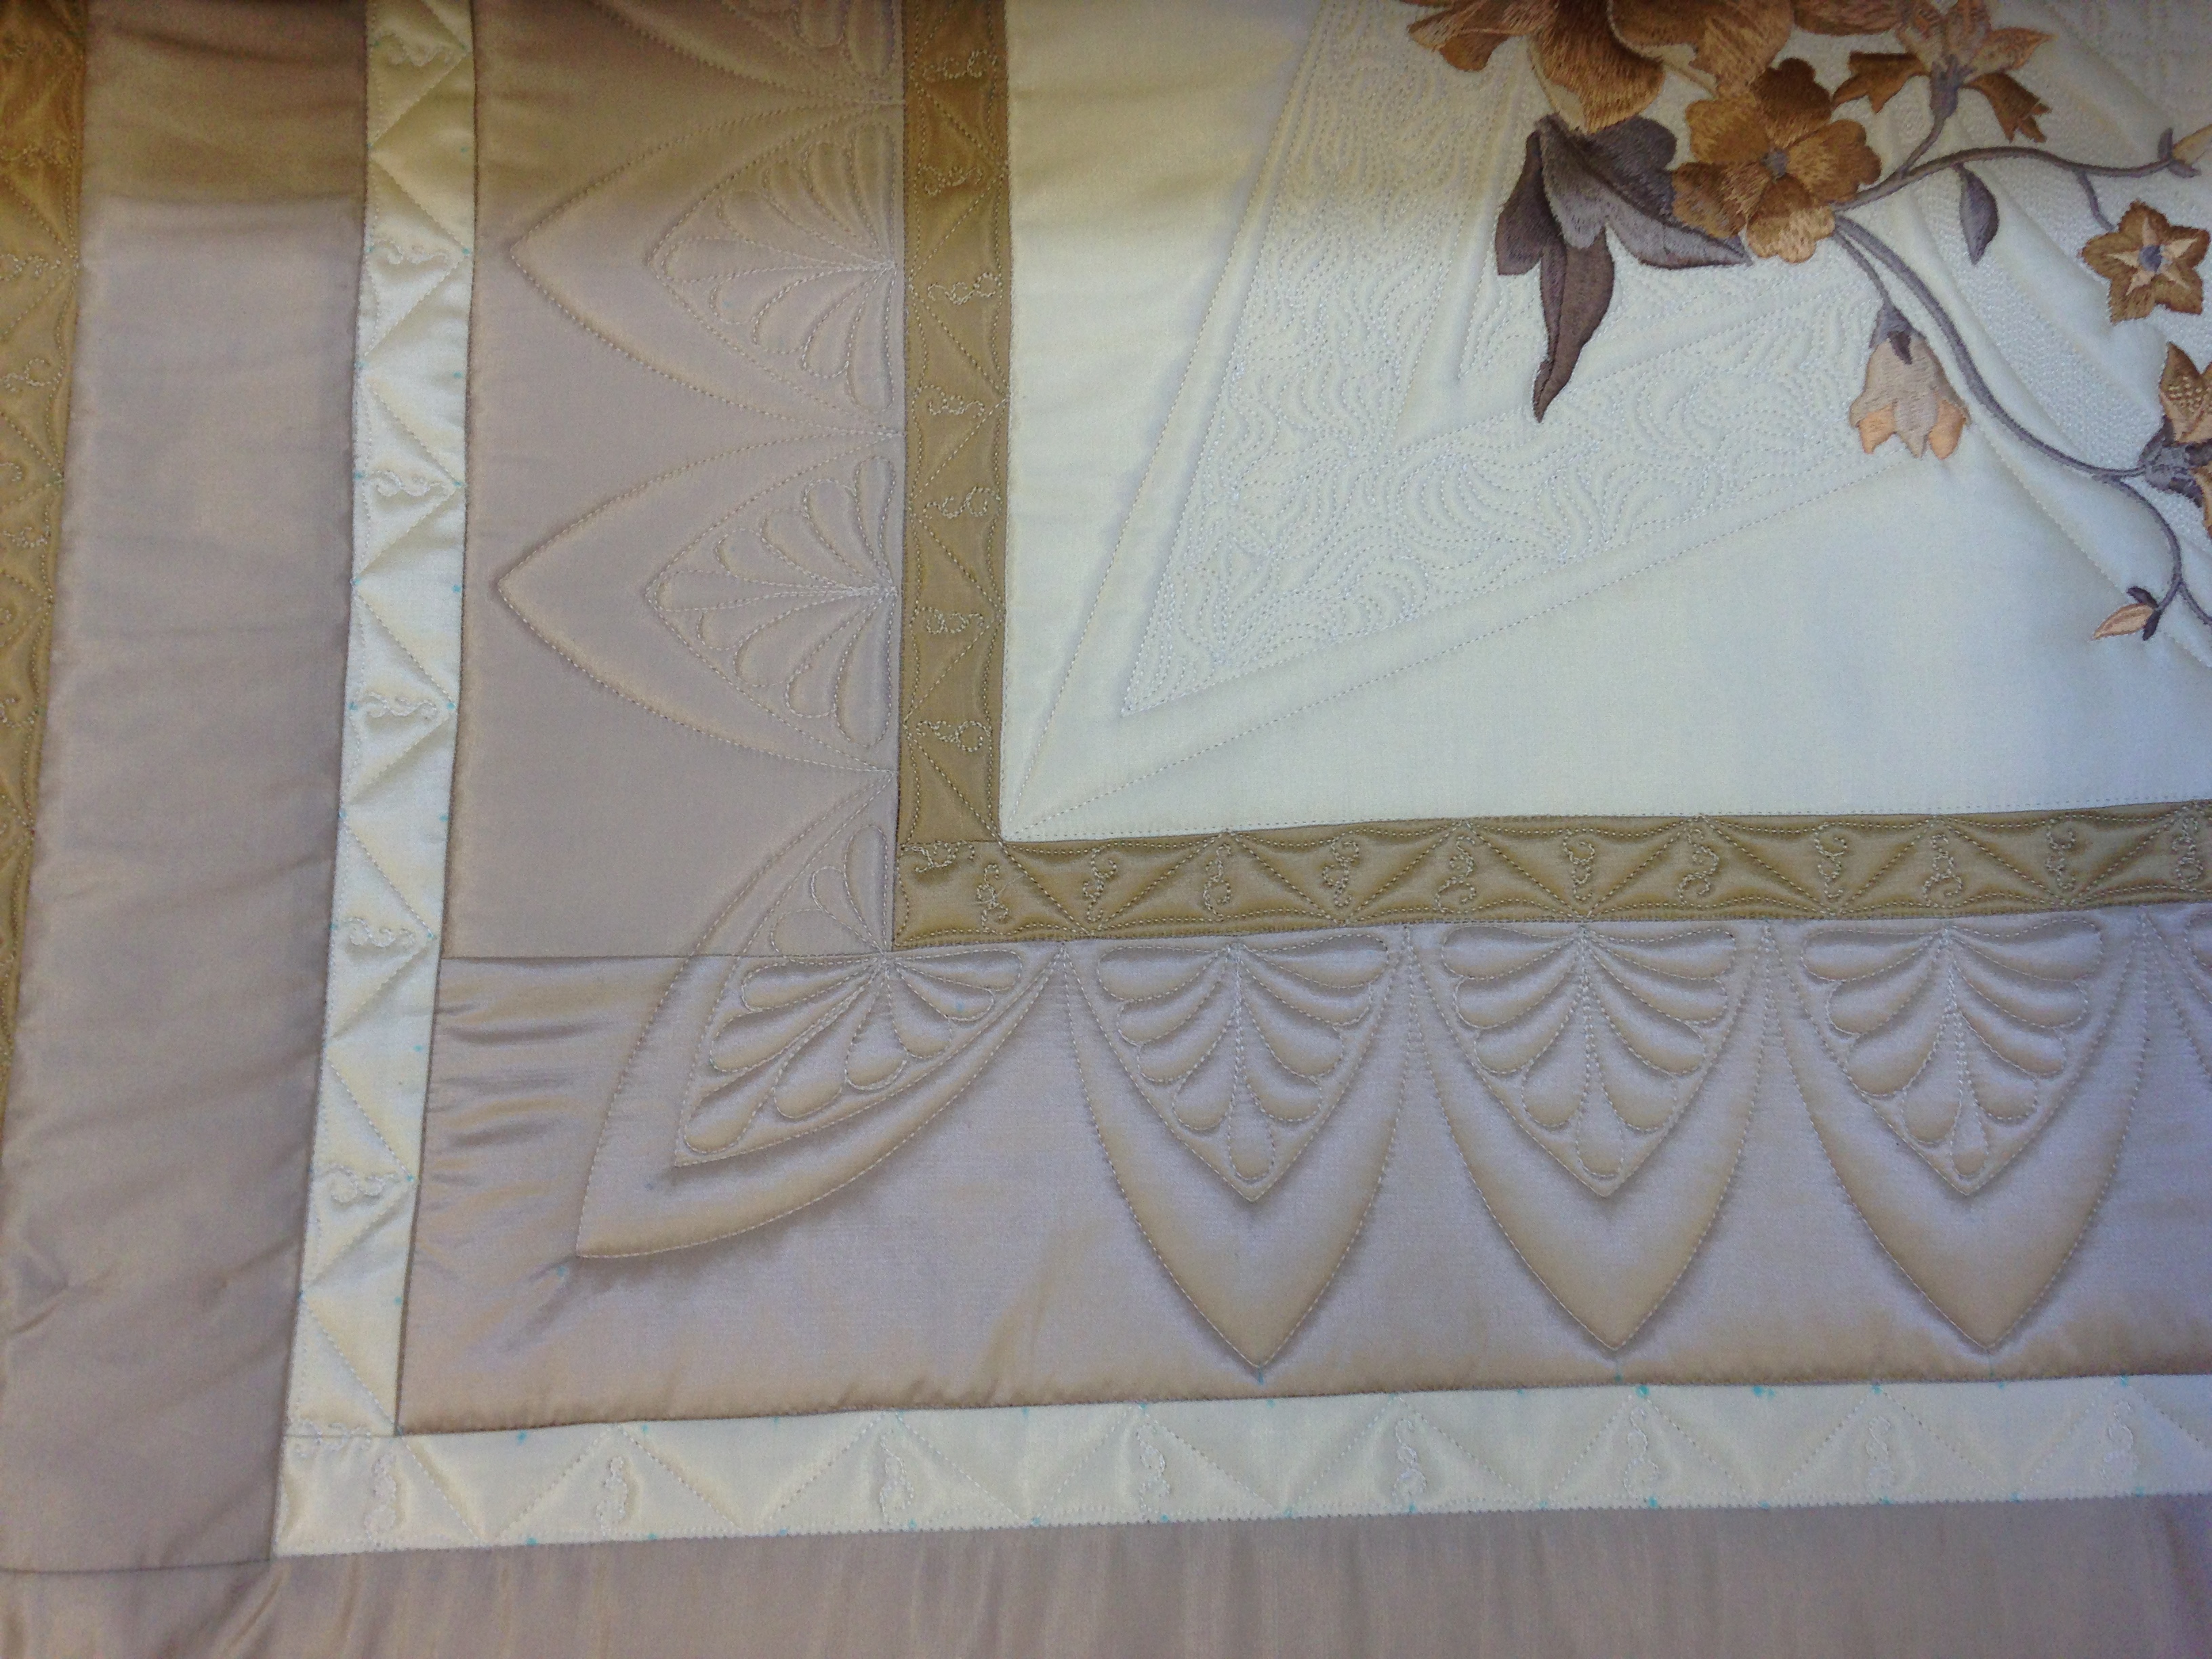
Feather borders
So, after hours and hours and days and days more stitching all the thousands of feathers are done and so are the miles of fine line stitching and the dense micros stitching work around the inside of the feathers to make them pop. The outer border itself took two days to feather and three days to do all the lines and fillers. There are approximately 1.5 million stitches in that area alone.

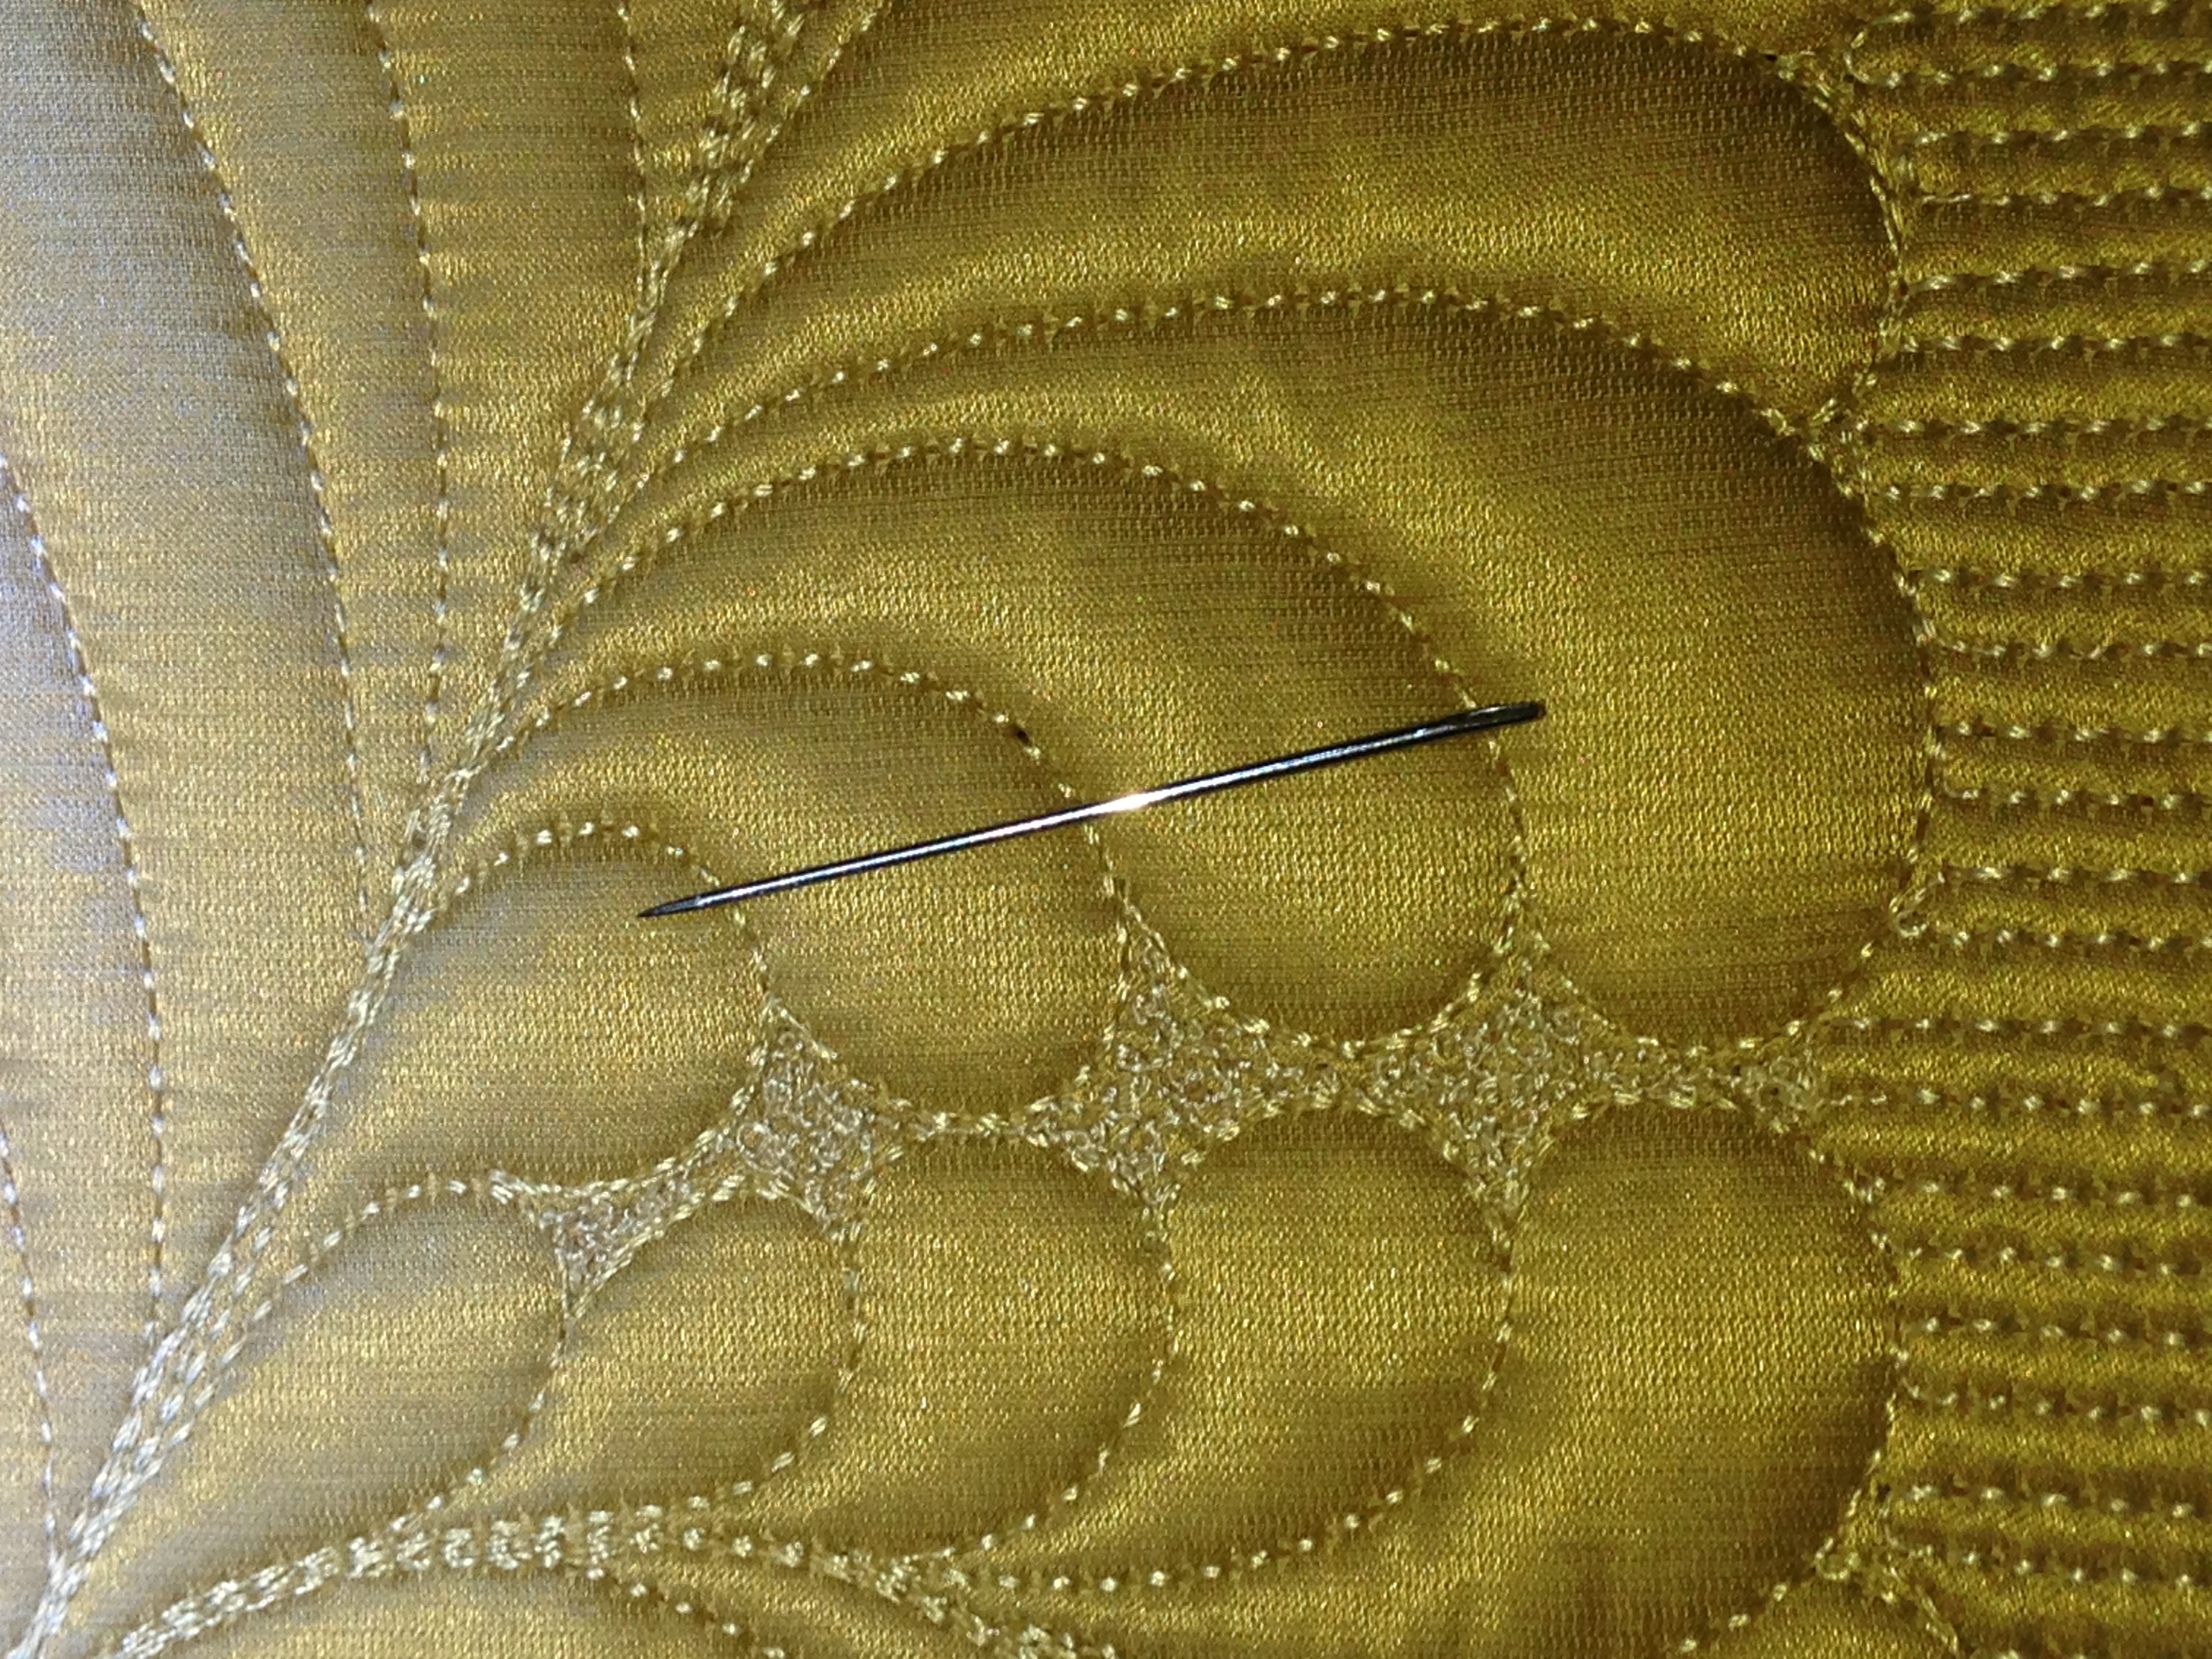
Micros Stitching
To put the micro stitching into perspective, this is a normal sewing needle laying on top.
So was all this effort worth it. Hell Yes. At its first outing it took 5 awards, including Best Longarm Quilting and Overall Runner up. I now have a nice set of blue ribbons hanging in my studio and I am hoping it will collect a few more before it is retired to be a permanent hanging in the studio.
Cappuccino Dreams