Green updated
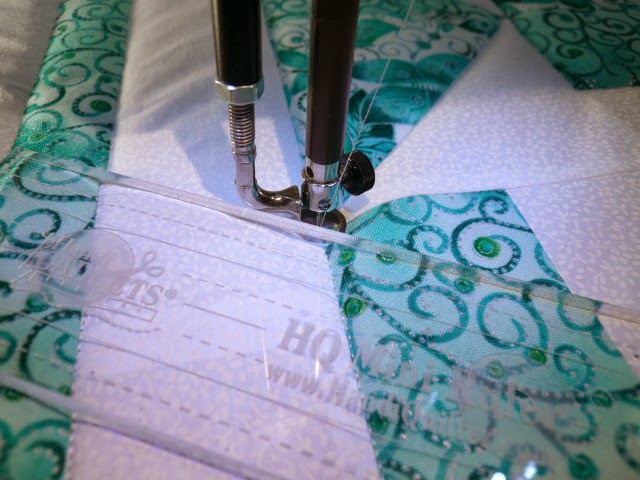
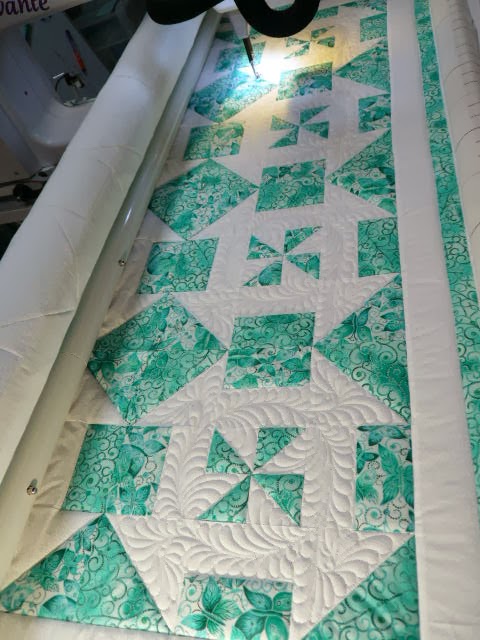
Ok this is to update you on the green one so far. Yesterday I told you about the new wadding I was using that is not that easy to work with as it is very dense. When using rulers you have to be careful not to run over them with the foot but you also have to get the ruler near enough in the first place. You can see from this photo that the ruler is not where it should be, so to use it properly I am having to make sure I compress the wadding enough to get the ruler in the right place, but not too much that the machine won’t move.

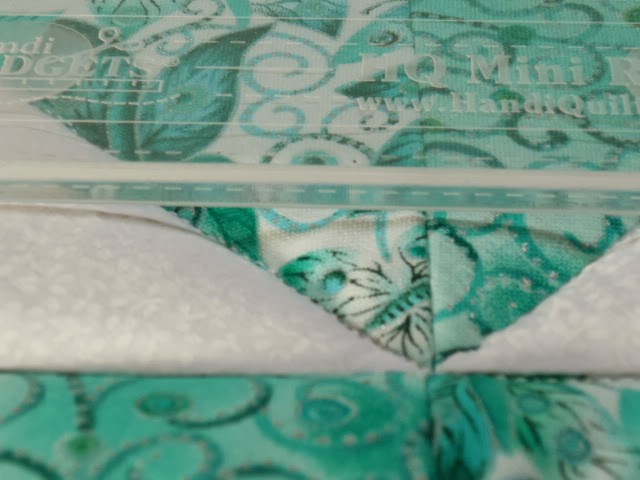 Here you can see just how thick it is.
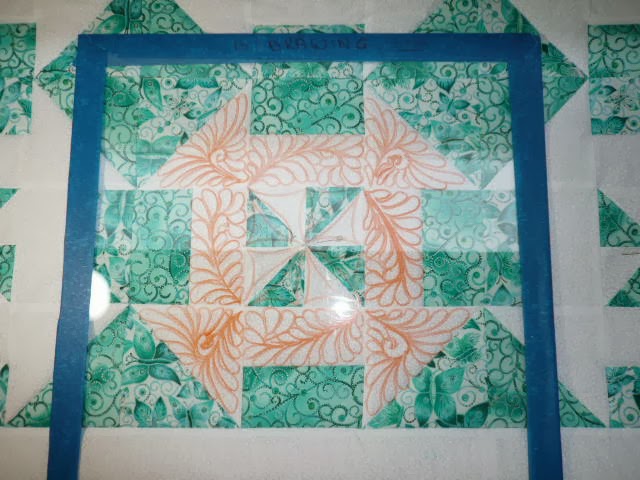
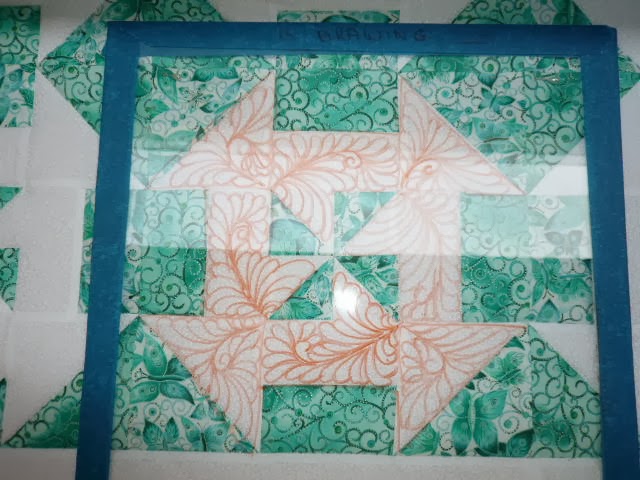
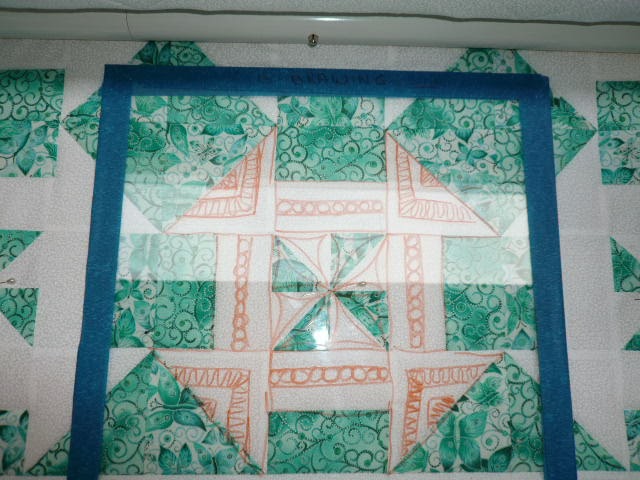
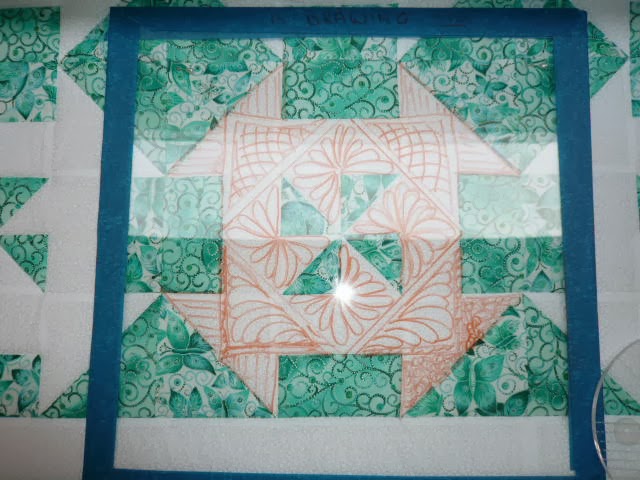
Here you can see just how thick it is. I also thought you might like to see how I sometimes decide what to do on the quilts. I use a number of different things but today I used a piece of perspex that I draw on with a dry-erase marker. I put it on top of the quilt, draw on it, photograph it, wipe it off and start again. Then I compare them in the camera to see which I like best.
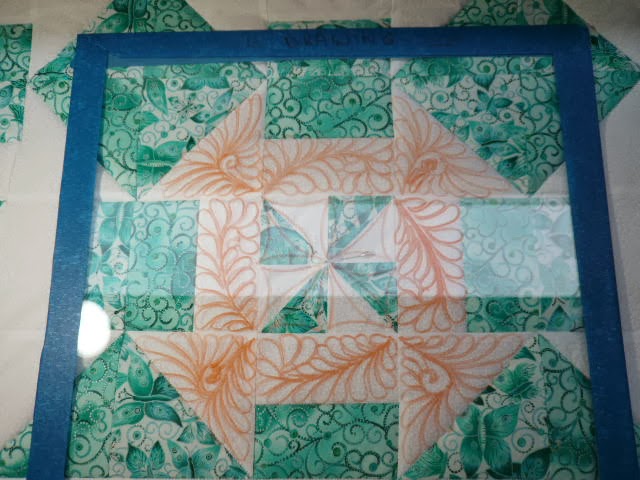
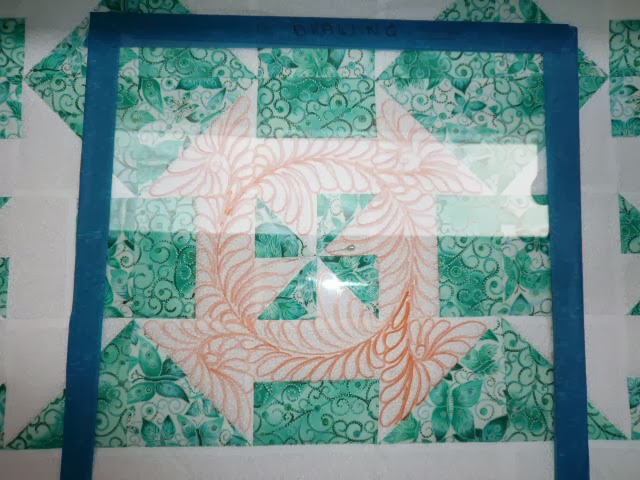
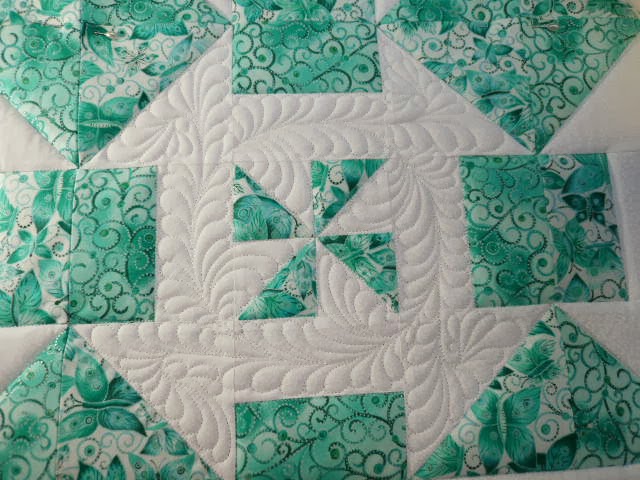
I decided on the bottom left and as I wanted feathers but I wanted them to be in a contrasting shape, hence the circle as the base. Here is what it looks like when quilted out.
I have done the first two rows so far before I had to leave the studio and come home. Not quite sure what I am going to do in the squares yet. I will decide when I have finished the whites sections.
Hope you like it so far. Take care out there.


